ok spent the last couple of days makeing test renders, this in HD (1920x1080) im aware that one wouldnt normaly render sometihing in high resolution if it where a test render, but this is simply to show off, until i complete the final test render, which will be longer and contain information on the model (poly count textures size)
Saturday, 11 February 2012

Wednesday, 8 February 2012
Bugs
so it turns out theres issues rendering normal maps on a multi sub ovject in 3ds max 2012. so i had to come up with a sort of annoying "patch"

This seems to stop the issues from showing up druing the rendering process.
Image Dump


The rigging stage of the project has already been completed. will post some renders of the mech posed later.

This seems to stop the issues from showing up druing the rendering process.
Image Dump


The rigging stage of the project has already been completed. will post some renders of the mech posed later.
Saturday, 4 February 2012
Normal maps


sometimes i hate them, but thats mainly becasue the photoshop normal filter screws up and doesnt revert to "default" settings.
here are 2 of the latest renders.
been mainly working on the normal maps to give it some minro details. the cockpit has a nice new shiny gradiant blue wihch is setup with a reflection map. this will reflect any envirment image or any object thats placed in front of it.
Wednesday, 1 February 2012
Bulk texture comlete
well i finaly completed the bulk texture, just have to add some small details and get some normal and specular maps for them, soon as the small details have been compelted i'll be creating a small terrain and sky dome for it to sit on and i will be rendering them at a higer resolution. (1920x1080).


Tuesday, 31 January 2012


Saturday, 28 January 2012
Missle Racks
ok so i have been working on the Missle Racks today or Missle pods as some Battletech/Mechwarrior fans like to call them. these deadly weapon took most of my day to texture, and i'm pleased with how it turned out.
There is still lots to do in the textureing part of this project, but for now iam just "blocking" it out, i will be adding minor details onece this process is complete.
both LRM racks are shareing the same texture sheet for the moment, i plan on creating a seprate texture sheet for the second missle rack to give the mech a unique feel.
again Rendering process was Mental ray with a Sky light and Omni Light.


Higher resolution images will be posted once the Textureing is completed. enjoy :)
There is still lots to do in the textureing part of this project, but for now iam just "blocking" it out, i will be adding minor details onece this process is complete.
both LRM racks are shareing the same texture sheet for the moment, i plan on creating a seprate texture sheet for the second missle rack to give the mech a unique feel.
again Rendering process was Mental ray with a Sky light and Omni Light.


Higher resolution images will be posted once the Textureing is completed. enjoy :)
Mad Dog WIP
ok so i had an idea about the Mad Dog and i felt like i should run with it.
Modeling
the Mad Dog i created was original done in Lightwave, so i decided to clean it up in 3DS Max. there wasn't much to clean up just a few polys here annd there. the arms and Legs where re-modeled to resemble the latest version from the Technnical Readout books.
Unwrapping
once the cleaning and remodeling was complete it was time to Unwrap the model, i decided to look at example of unwraps from the old Mechwarrior 3 and 4 games i decided that the Mechwarrior 4 UV Template was the most efficent way to unwrap, each limb of the mech got a corner of the UV.
Texturing
i had sevral times started a texture for this mech but i was never pleased with the unwrap or texture, so i felt that i should streamline the process down, going back to the UV unwrap stage i seprated the mech into 8 channles. Each limb had its own channle and UV space this meant that i could work on the mech in "chunks". i was happy with the new unwrap that i had decided to use and sent the model into Mudbox for texturing, i decided to use Mudbox over Photoshop for the texturing duration of this project. my main reason being that it allows me to paint directly onto the mesh this allows me to define the endges of the mech so i can add small detail such as scratches, the direct painting also helps avoid seams appearing in the textures.
i am still currently using Photshop during this project however. i used Photoshop to create the stencils that i used in Mudbox to give the mech it the weathered look. i also used it to add the Smoke Jagaurs Insignia and Unit Insignia.
Clan Smoke Jaguar Isignia.

7th Jaguar Dragoons.

Mad Dog WIP Centre torso Textured and almsot complete, i just have to finish off the Cockpit.


Modeling
the Mad Dog i created was original done in Lightwave, so i decided to clean it up in 3DS Max. there wasn't much to clean up just a few polys here annd there. the arms and Legs where re-modeled to resemble the latest version from the Technnical Readout books.
Unwrapping
once the cleaning and remodeling was complete it was time to Unwrap the model, i decided to look at example of unwraps from the old Mechwarrior 3 and 4 games i decided that the Mechwarrior 4 UV Template was the most efficent way to unwrap, each limb of the mech got a corner of the UV.
Texturing
i had sevral times started a texture for this mech but i was never pleased with the unwrap or texture, so i felt that i should streamline the process down, going back to the UV unwrap stage i seprated the mech into 8 channles. Each limb had its own channle and UV space this meant that i could work on the mech in "chunks". i was happy with the new unwrap that i had decided to use and sent the model into Mudbox for texturing, i decided to use Mudbox over Photoshop for the texturing duration of this project. my main reason being that it allows me to paint directly onto the mesh this allows me to define the endges of the mech so i can add small detail such as scratches, the direct painting also helps avoid seams appearing in the textures.
i am still currently using Photshop during this project however. i used Photoshop to create the stencils that i used in Mudbox to give the mech it the weathered look. i also used it to add the Smoke Jagaurs Insignia and Unit Insignia.
Clan Smoke Jaguar Isignia.
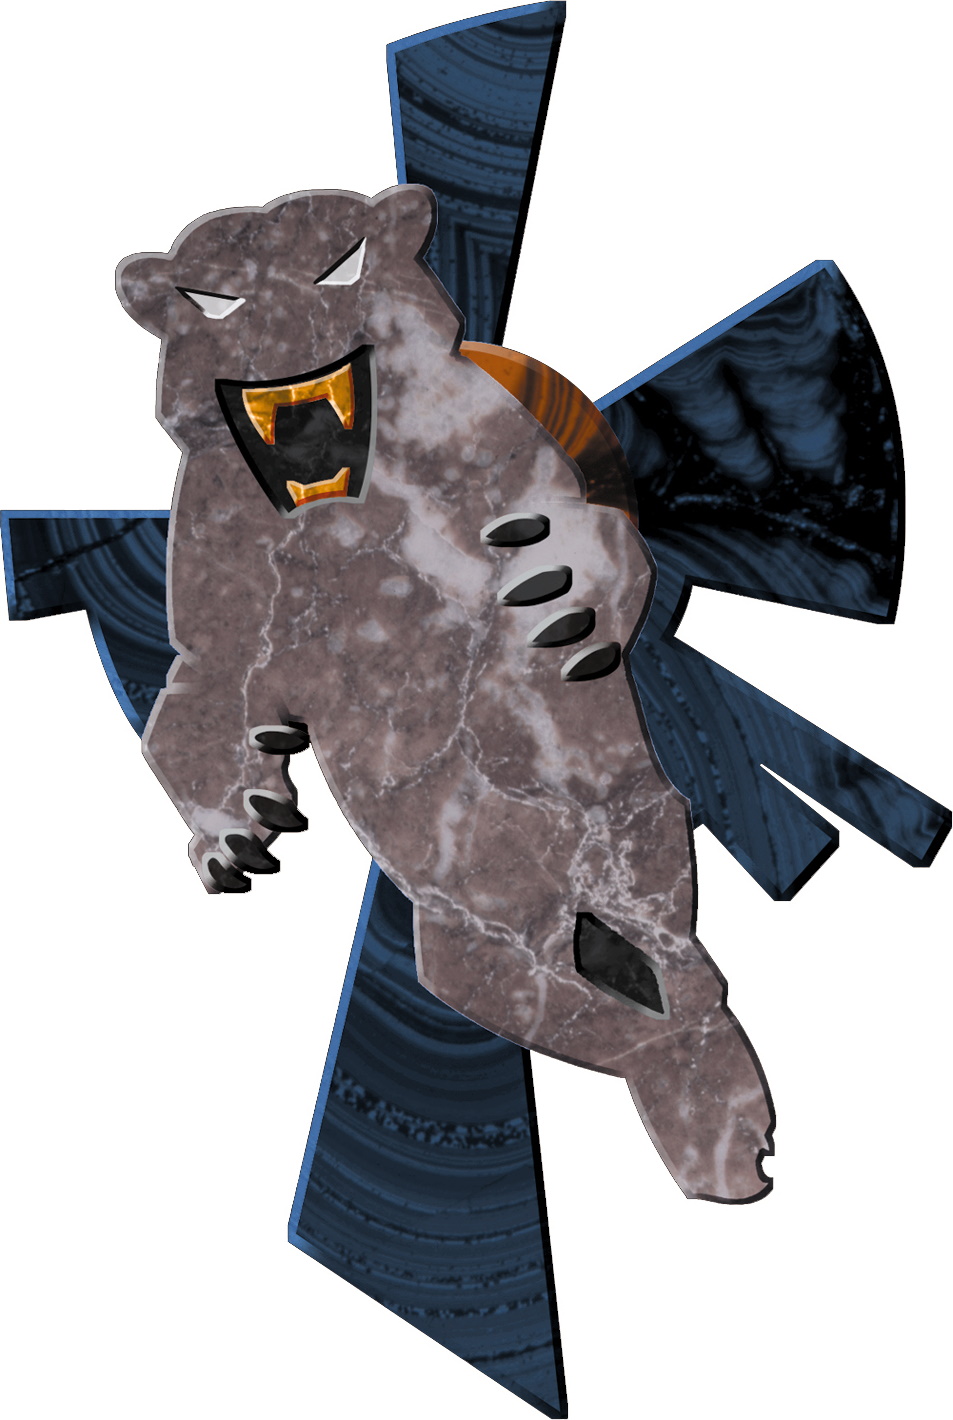
7th Jaguar Dragoons.

Mad Dog WIP Centre torso Textured and almsot complete, i just have to finish off the Cockpit.


Subscribe to:
Posts (Atom)